Entering Lesson Plans
The bulk of work that you do in Planbook centers on entering lesson information. This page will focus on entering the text components of your lesson plans. Other sections focus on Creating Assignments and Attaching Files and Web Links to your Plans.
Selecting Lessons To Edit
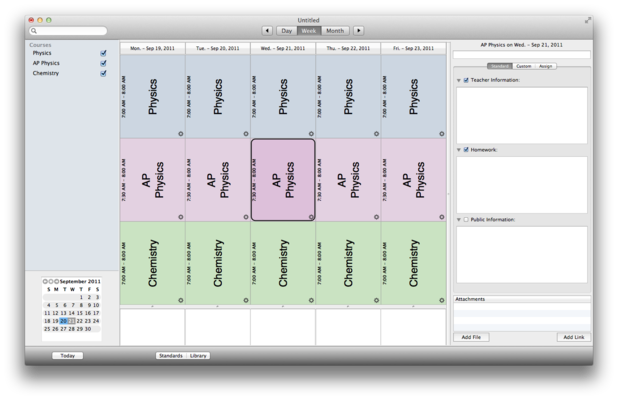
Selecting the lesson you want to edit is as simple as pointing at the lesson with your mouse cursor and clicking on it once (avoiding the small gear to at the bottom right of the lesson). Once you've clicked once on the lesson, the sidebar on the right will update to reflect the information found in the selected lesson.
Once a lesson is selected, you will see it outlined in black in the main view. You'll also notice the right side sidebar shows the name of the class and the day it's meeting.
Editing Lesson Information
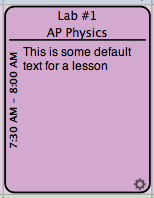
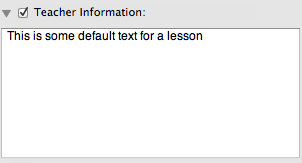
Planbook offers 6 different text fields for text entry, plus the lesson title field. The images to the left show the results of entering a title for the lesson (shown on the right). Note that the color of the lesson in the main view darkens and the lesson title is shown at the top of the lesson view.The lesson view also shows the text entered into the lesson fields. You can control which fields are displayed in the lesson view using the checkboxes next to the field name. Toggle off the field to prevent its display in the lesson view. Toggle the field on to display it. These checkboxes do not affect publishing or syncing to [PlanbookConnect] or iCal.
In addition to the 3 standard fields (Teacher Information, Homework and Public Information), Planbook now includes 3 more fields in the "Custom" tab.
A new feature in Planbook 3 is that the text displayed in the lesson view can be scrolled. To scroll text that extends beyond the view, simply use the two finger scrolling gesture built into OS X to scroll up and down.
Planbook also offers a detail mode for entering lesson information into larger text boxes.
Changing the Field Names
Planbook uses default field names (Teacher Information, Homework, Public Information, Custom 1, 2 and 3) but you can, of course, easily change these to meet your needs. The idea behind the first three fields is that teachers who choose to publish or use PlanbookConnect might have information they want available to them, but not their students. Hence, the Teacher and Public information fields. The teacher field could be kept private while sharing the public field. The homework field is for teachers who just want to jot down homework assignments and not go through the process of Creating Assignments. The custom fields are designed to be changed.
To change a field, click once directly on the name of the field (shown below). Then, type your new field name and hit enter. This change will apply to all lessons- field names are universal, not specific to a single lesson.


